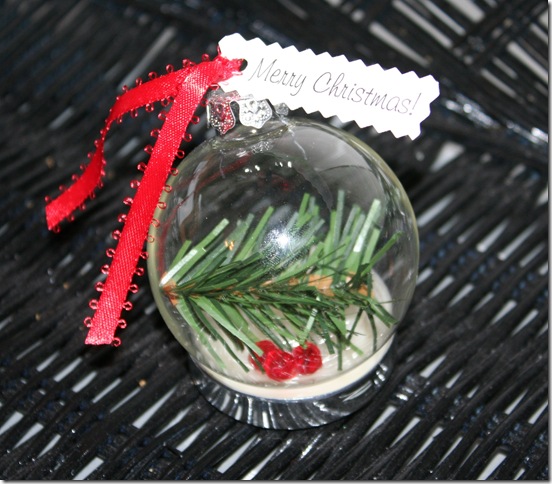
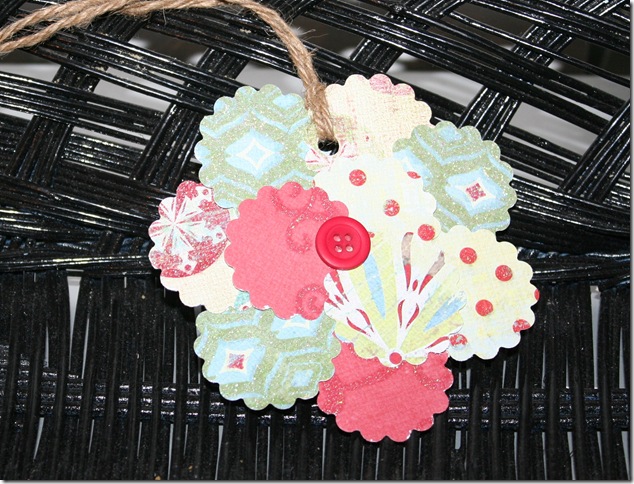
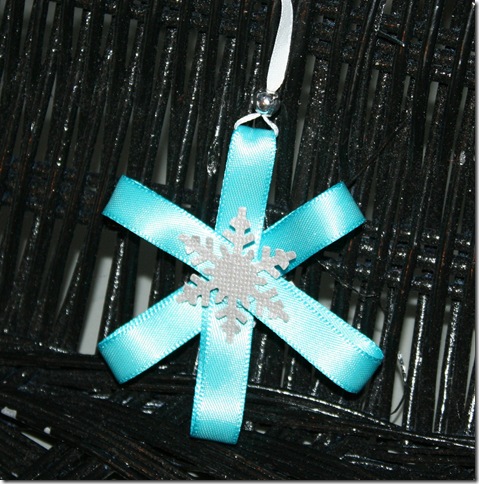
We will be making these next week for MOPS. They can be either ornaments, gift tags or present toppers. The blue snowflake is an idea from Martha Stewart (love her!).
Nov 23, 2010
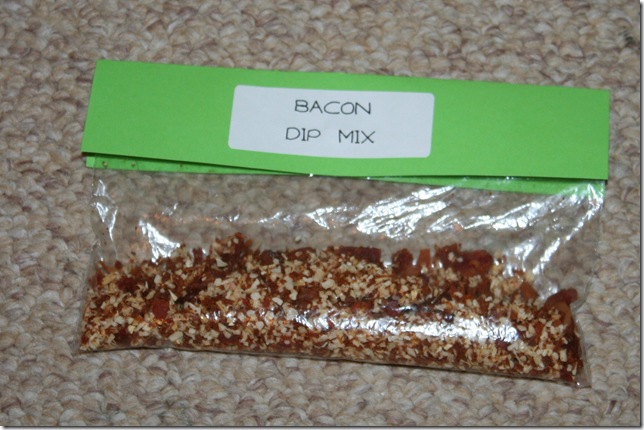
Bacon Onion Dip
Make your own YUMMY bacon onion dip!
This was another MOPS craft.
You could use these as hostess gifts as well.
Ingredients:
2 tbs bacon bits
1 tsp beef bouillon granules
1 tbs. minced onions
1/8 tsp minced garlic
Combine all ingredients in a small ziploc bag. Store in cool, dry place and use within 6 months. To make: Combine 1 cup of sour cream and 1 package of mix. Chill at least an hour before serving.
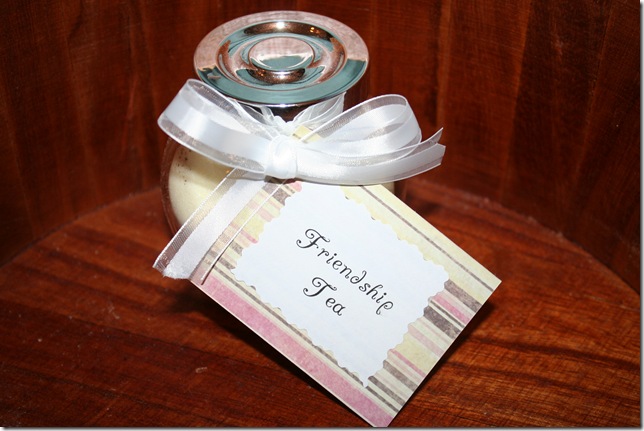
Friendship Tea
We made these at MOPS and they were a huge hit.
Not only were they cute in the jar but the tea tasted so good.
These would be great hostess gifts for the holidays!
I found the jars at Ikea (4 for $2.99) love that place!
In the jar layer the following ingredients in this order:
3 tbs. sugar
3 tbs. tang
3 tbs. lemonade
2 tbs. powdered tea
pinch of cloves
pinch of cinnamon
Tie a tag to the jar with these directions:
Pour jar of ingredients into a bowl and mix.
To serve tea, add 2 tbs. of tea mix to 1 cup of boiling water.
You can make almost 5 cups of tea with this little jar.
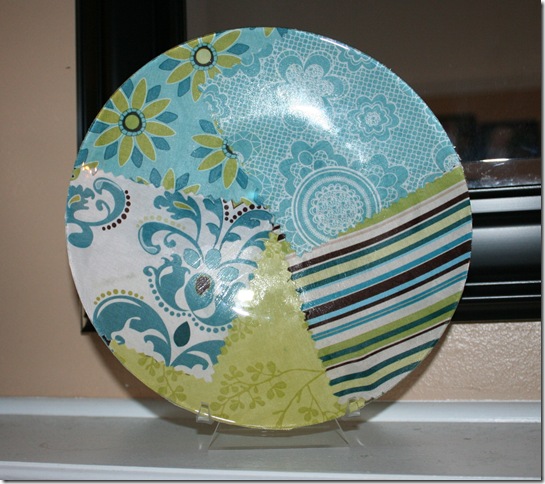
Fabric Backed Plate
These plates are super easy to make and sooo cute! I will be making some for the neighbors and delivering them with Christmas cookies on top!
What you need:
Clear plates (ikea has them for .99)
fabric squares
Mod Podge
spread the mod podge on back of plate. Lay down one piece of fabric, cover with Mod podge and repeat with rest of fabric. When done, let dry and then flip the plate over and cut the edges of fabric off from around the plate.
Hand-wash only!!!!
Nov 15, 2010
Friendship Soup
Nov 11, 2010
Window Painting!
Decorative Blocks!
 Style 2
 Great for all occasions!
 Now for my quick tutorial on how to make them...
First, have your handyman cut wood for you
I bought 4 different sizes of wood from Lowes and had
the mister cut them in different lengths

Paper Mache!
Here is what you need:
plastic bowl and saran wrap
I taped it to the inside of the bowl so it would not move or slide
2. In a separate bowl mix together
equal amounts of glue and water
I will probably use 3-4 sheet per bowl
Continue until you have used all the tissue paper.
carefully pull it away from the plastic bowl and then gently pull off saran wrap.
Leave out for another hour or more so the inside can continue to dry.
A few things I learned for next time...
*wrap the bowls in saran wrap before. This was a "boring"
part for Kelly and she really could not help with this step.
*Tear some of the paper before as well. Took longer than
I thought and was too much for a 5 year old attention span.
However, let them do some of the tearing...
it is great for their fine motors!
*Only use plastic bowls! We used a few glass bowls and
the tissue did not slide off easy...I ended up tearing 2 bowls :(
*Use more tissue paper! More paper = thicker/sturdier bowl
Have fun!
Muffin Tin Meal
Book Bag Tags

The measurements I used for the
background paper were
3 6/8" x 2 6/8"
The smaller paper on top (for her name)
I just cut smaller than the first one

I am a fan of foam layering tape which
gives your project a 3-D look.
I used this tape to adhere the name paper
to the background paper

Add ribbon and you are done!
I made one for Kelly's backpack, one for her
lunchbox and one for Jake's diaper bag!


